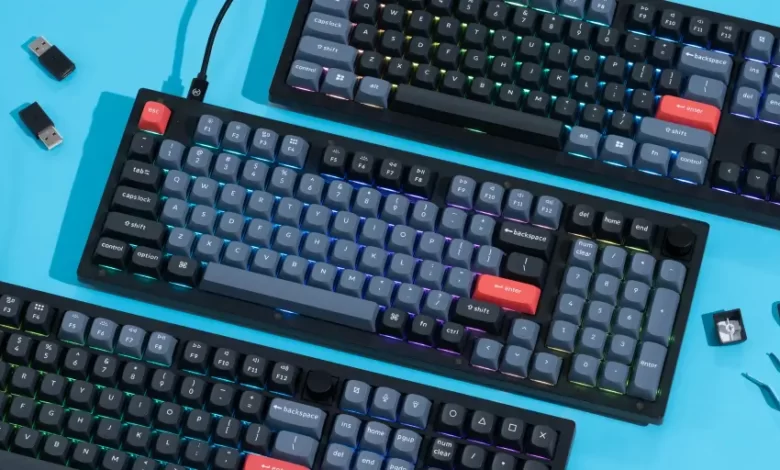
Custom mechanical keyboards have gained popularity among keyboard enthusiasts due to their unique aesthetics and superior typing experience. Building your own keyboard allows you to customize every aspect, from the switch type and keycaps to the layout and case design. Whether you’re a beginner or an experienced hobbyist, this guide will provide you with the knowledge and resources you need to embark on this rewarding journey. So take a break from Bizzo Casino to see what you need to do.
Step 1: Research and Planning
Before diving into the world of custom mechanical keyboards, it’s important to conduct thorough research. Start by exploring different keyboard layouts, switch types, keycap profiles, and case designs to determine your preferences. Consider your typing style, intended use, and desired aesthetics. Once you have a clear vision, create a budget and make a list of all the components you’ll need, such as a PCB (printed circuit board), switches, stabilizers, keycaps, and a case.
Step 2: Gather Components
With your list in hand, it’s time to source the components for your custom keyboard. Several online vendors specialize in mechanical keyboard parts, offering a wide range of options. Make sure to choose high-quality components from reputable manufacturers to ensure durability and compatibility. Double-check the specifications of each component to ensure they are compatible with each other. Take note of any additional tools you may need, such as a soldering iron, solder, a switch puller, and a keycap puller.
Step 3: Prepare the PCB and Solder the Components
Begin the assembly process by preparing the PCB. If your PCB requires any modifications or soldering, carefully follow the manufacturer’s instructions. Place the switches in the designated locations on the PCB and solder them in place. Take your time to ensure proper alignment and clean solder joints. If your PCB supports LED backlighting, this is the stage to solder any LEDs or RGB components as well.
Step 4: Install Stabilizers
Stabilizers ensure that larger keys, such as the spacebar and shift keys, have a smooth and balanced feel. Install the stabilizers by inserting them into the designated holes on the PCB and securing them with the included screws or clips. Apply a thin layer of dielectric grease to the metal wires of the stabilizers to reduce friction and noise.
Step 5: Mount the PCB in the Case
Place the PCB with the soldered components into the chosen case. Align the screw holes on the PCB with those on the case and fasten them securely. Make sure the PCB is properly seated and centered within the case. If your case has a plate, insert it between the PCB and switches to provide additional rigidity.
Step 6: Attach Keycaps
Carefully place each keycap onto its corresponding switch stem. Ensure that each keycap is seated evenly and securely. Apply gentle pressure to snap them into place. Take the time to customize your keycap arrangement, whether it’s a specific language layout or a unique keycap set that reflects your personality.
Step 7: Test and Troubleshoot
Before celebrating the completion of your custom mechanical keyboard, thoroughly test each key to ensure they register properly. Connect your keyboard to a computer and type in a text editor to verify that all keys are functioning as intended. If any keys are not registering or behaving erratically, double-check the soldering connections, stabilizers, and switch alignment.
Step 8: Customize and Program
Take advantage of the programmability features of your custom mechanical keyboard. Depending on the PCB you’ve chosen, you may be able to program key mappings, macros, and lighting effects. Utilize software or firmware tools provided by the manufacturer to customize your keyboard to your liking. Experiment with different layouts, create shortcuts, and adjust the RGB lighting to suit your preferences. This step allows you to truly make your keyboard tailored to your needs and style.
Step 9: Fine-tune and Refine
Once you’ve started using your custom mechanical keyboard, you may notice areas for improvement or adjustments. Pay attention to the typing experience and consider making minor tweaks to enhance comfort and performance. This can include adjusting the actuation force of your switches, modifying keycap profiles, or experimenting with different switch lubrication techniques. Listen for any abnormal sounds or rattling, and address them by adjusting the stabilizers or adding foam or dampening material inside the case. Continuously fine-tune and refine your keyboard until it feels perfect for your typing style.