Sony Xperia Z2, another flagship device launched in March, 2014. In terms of hardware specification and capabilities, the device is far better. It comes with latest Quad-core 2.3 GHz Krait 400 processor, and most extensive Adreno 330 graphic chip, and 3 GB RAM. Simply, its something like a small-sized high-end laptop. Initially Z2 comes with Android 4.4.2 KitKat operating system, and will be opted for further updates. However, without root one cannot execute the device with its original power, and performance. So, to make it simply for you, we have written this step-by-step root, and CWM recovery guide for Xperia Z2.
If you’re looking to root and install CWM Recovery on Sony Xperia Z2, then this post will help you to do that. Root, and custom recovery is useful in many ways, root allows you to have fun with powerful root applications, and through custom recovery, one can can install Custom Roms, mods, and much more. Visit our post: Root apps to achieve high performance on Android phone.
Read all the pre-requisites listed below, and prepare the device according to them. This guide, and utilities listed here are only made for Sony Xperia Z2, and meant not to be tried on any other device. It could lead to very serious damage to other devices. You need a Windows-based PC with internet connectivity, proper USB drivers of device must be installed on it. If you haven’t install USB drivers yet then you must first visit here, download and install them.
Your phone must be unlocked in order to perform these things. Visit official Sony website here to unlock the boot-loader of Z2. Optional: Backup all the apps, messages, and stuff stored under the phone’s memory. Visit our: Android Backup guide to do it easy manner.
Enable USB Debugging option, go to Settings->Developers options->check the USB Debugging box. Charge the device to good extent.
Downloads
- Download the →Fastboot Tool + CWM zip file from here. After downloading, extract to particular place on your PC.
- Download the →UPDATE-SuperSU-v1.94.zip Root file from here. Put this file phone’s external memory, and remember the location.
How to install CWM Recovery on Xperia Z2
The custom CWM Recovery will installed using Fastboot Tool, the recovery image has been ported, and distributed by well reputed member of XDA, DooMLoRD.
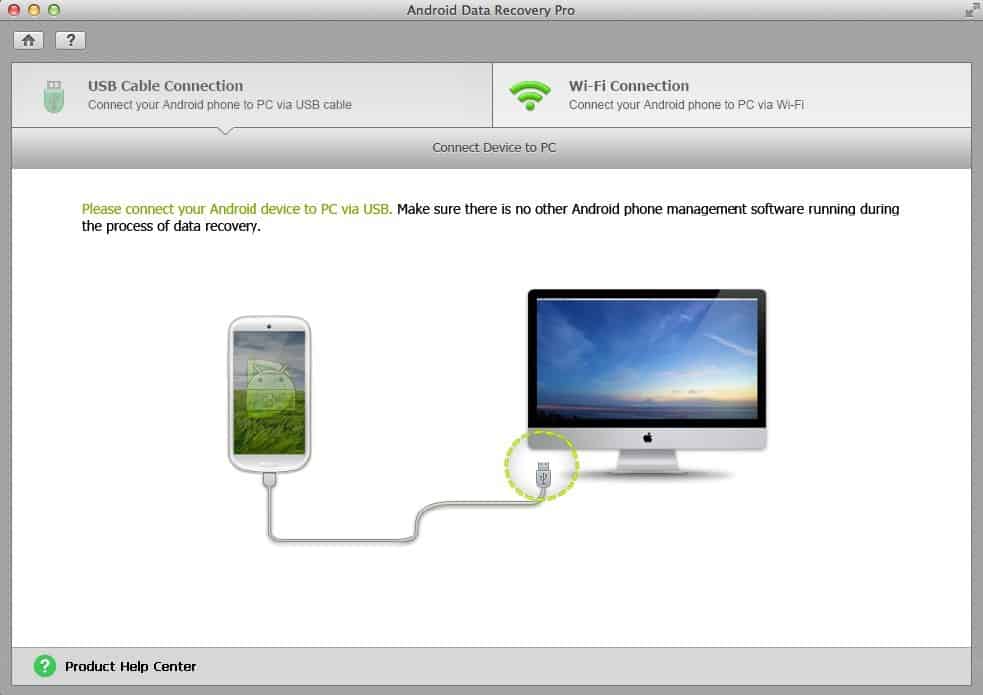
- First connect your device to PC using USB cable, and make sure that you’ve already install proper drivers of it.
- Open the extracted folder of Fastboot.zip, and look for “Run Me.bat” file and Run it by double clicking on it.
- Follow the on-screen commands if they appears, and keep your eyes on you both PC, and mobile.
- Once it done, your phone would restart itself.
Congrats! you’ve just installed CWM Recovery on your device. Now next step is to root it, the best way to get the job done is to install SuperSU through CWM Recovery mode. Follow the below procedure to root Xperiz Z2.
How to Root Xperia Z2
- Turn off the device, and wait at least 5 seconds.
- Boot into recovery mode by turning ON the device, and once Sony Logo appears, then press Volume Up key several times.
- Under recovery mode, select “Install” then “choose zip from sd card”, find and locate the downloaded UPDATE-SuperSU-v1.94.zip file. Select “yes” on next screen to confirm the installation process.
- Once completed, select “reboot system now”.
All done, you’ve now rooted, and custom recovery installed Xperia Z2. If you have problem, or what to share your feedback with us, the you’re most welcome to make comments.


i connect my phone with sb cable in (MSC)mode and my USB debugging is on.
sony pc companion and flashtool say that my phone is connected but in “Run Me.bat”
say “divice not found” or “divice offline” and wait on “waiting for divice”
what should i do??
thank you so much.
same issue any answer?
Contact him for any type of hacking, he is a professional hacker that specializes in exposing cheating spouses, and every other hacking related issues. he is a cyber guru, he helps catch cheating spouses by hacking their communications like call, Facebook, text, emails, Skype, whats-app and many more. I have used this service before and he did a very good job, he gave me every proof I needed to know that my fiancee was cheating. You can contact him on his email to help you catch your cheating spouse, or for any other hacking related problems, like hacking websites, bank statement, grades and many more. he will definitely help you, he has helped a lot of people, contact him on, Henryclarkethicalhacker@gmail.com, and you can Text/Call &WhatsApp: +1 (219)-796-0574, and figure out your relationship status. I wish you the best.
I suspected my husband of cheating on me, and I reached Henryclarkethicalhacker @ gmail.com , and he helped me discover the truth. I could monitor his phone remotely without touching it, making the process easier and less time-consuming. The step-by-step guide was also very helpful, showing me exactly what I needed to do