
The Samsung Galaxy Note 8 is a new flagship killer big-display smartphone that surpasses Samsung’s previously launched Galaxy S8 in many aspects. Though, on the surface, it looks exactly the same as Galaxy S8, but underneath, you get more. Well, that’s not our topic for this tutorial. In this tutorial, we gonna help you to unbrick /recover Samsung Galaxy Note 8 from bricked condition with the help of stock firmware. We gonna downgrade this device to its native operating system, in simple terms.
There are many situations that can lead to brick your smartphone. The most common ones are likely to occur while downloading the custom ROMs, Mods, etc., There is no doubt that custom ROMs are much better in most of the aspects as compared to stock Rom, but there are certain risks too. You might encounter stability issues, or sometimes, things can be even more worse.
If you’ve been facing such issues, or your Samsung Galaxy Note 8 is stuck or bricked, this guide should help you to revive it again. Downgrading the Galaxy Note 8 to its native operating system should restore it completely, and make it work perfectly like before.
Also, there is one thing that Samsung users have reported. After using a several months, Samsung’s smartphones tend to become slower, and their performance reduces. Even that problem does not solve by clearing the cache memory, sometimes. Then perhaps, flashing the stock firmware would be the ideal solution to that problem. Since the flashing procedure will clear the device’s storage, we highly recommend users to backup their smartphone before proceeding further.
Follow our backup guides: How to backup Android apps, and games with their data and Android backup solution. That help you to restore your Android phone in no time.
Also see:
However, if you’ve been facing some performance related issues, or unstable user interface, you must try to clear cache memory. That might solve the existing problem. Since, downgrading will wipe out the device completely, it would be good to try out some alternates. It helps you to overcome many issues like low performance, app crashes, unusual behavior, or an application or applications, and much more.
That will calibrate your device, and free up a good amount of storage space. Follow our guide below:
Before you proceed to flashing the stock firmware, we highly recommend that you try out the method that we mentioned above. In the most of cases, it works. Let’s move further.
Prerequisites
- This tutorial is dedicated to Samsung Galaxy Note 8 variants, and it shouldn’t be used on any other smartphone. That can harm that smartphone. Check our model number before you proceed further.
- Backup your smartphone. We highly recommend this as flashing process will wipe out the complete internal storage, and that can’t be undone.
- You need a Windows based Laptop/personal computer, and USB cable for connection purpose. We’ll use a Windows supported utility to flash firmware on Note 8.
- Charge your smartphone to a good extent. Fifty percent would be better to start the process.
Downloads
- Download the firmware for the Samsung Galaxy Note 8 from →here. Keep the download file on your laptop/computer. Once you download the file, extract it to get .md5 file, we need this file.
- Download the Odin flashing tool from here. It’s an ideal tool to flash stock firmware on Samsung smartphones. Extract the file to obtain Odin3 v3.12.7.exe.
- Download, and install Samsung USB Drivers from here. For connectivity purpose, these drivers are important. If you’re already using KIES, or similar PC suit, then there is no need to install them.
Now we are ready to go further.
How to flash stock firmware on the Samsung Galaxy Note 8
The process is very simple, and it remains common to all Samsung smartphones. We recommend you to follow all the steps exactly as we mention below:
Step 1. Turn off the phone completely. Hold the Power button, and then select Power Off option. Wait till it gets completely off.
Step 2. Enter into download mode. Follow our guide on →how to enter into download mode. This mode helps to flash stock firmware on Samsung phones. Now your phone is ready for Odin tool.
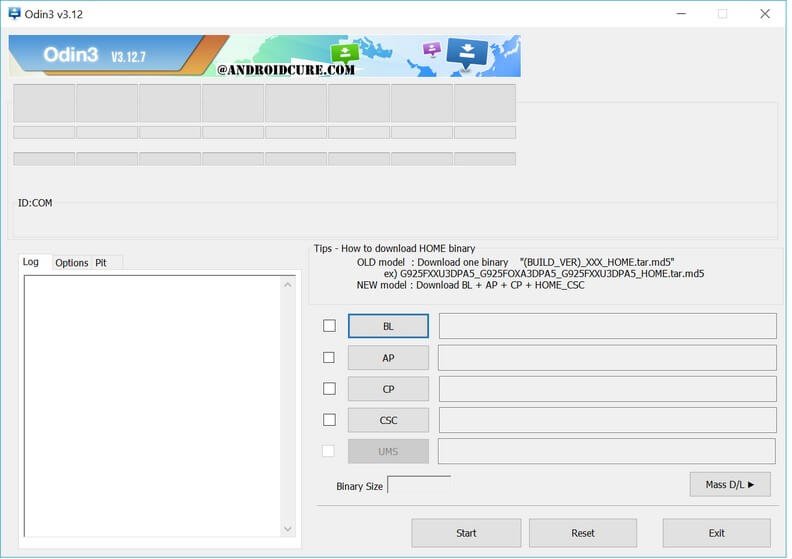
Step 3. From Extracted Odin files, run Odin3 v3.12.7.exe. The tool should open, and it looks like below:
Step 4. Now using a USB cable, connect your Samsung Galaxy Note 8 to Laptop/PC. Look onto Odin, the ID:Com should reflect.
That means your smartphone has been recognized successfully.
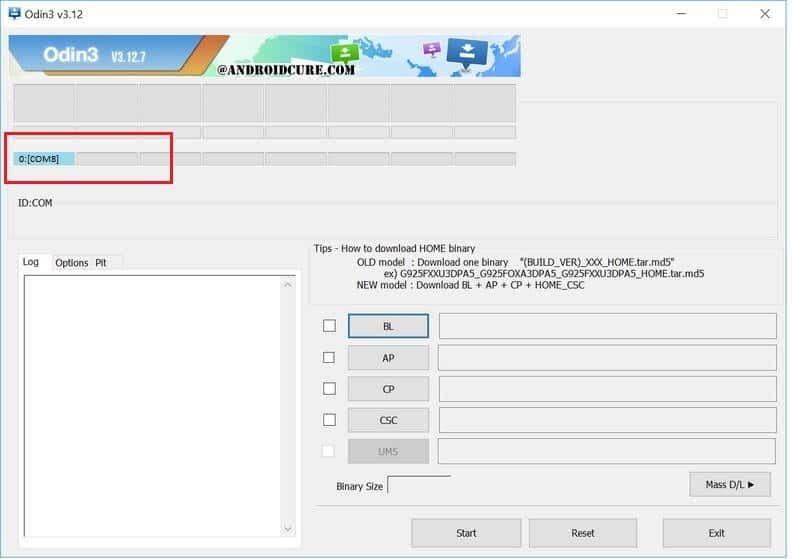
Note: In case, your phone doesn’t reflect on Odin, try to install device drivers, and try again. That should work that time.
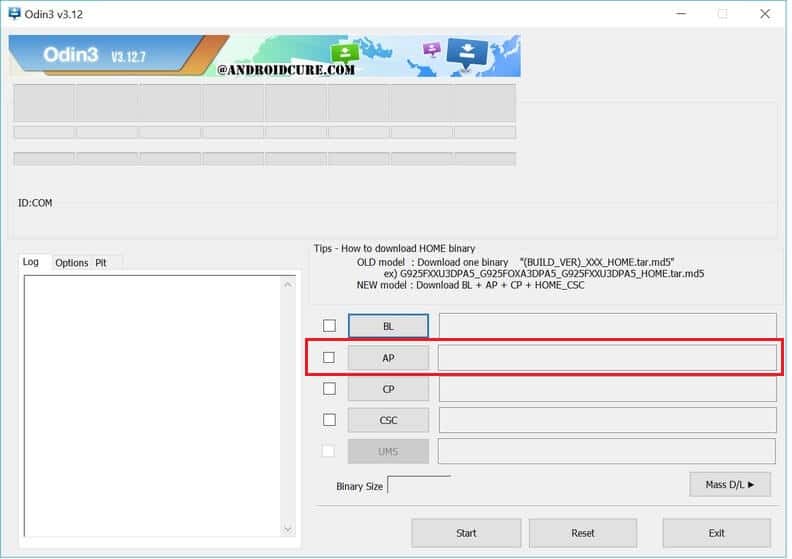
Step 5. Tap on ‘AP’ button, and upload the downloaded firmware file (.md5):
Step 6. Do not make any changes to settings. Now, tap on Start button to begin the flashing process. It can take anywhere between 2-10 minutes. Once the process is finished, Odin will display a PASS! message. Now you can disconnect your smartphone.
For the very first time, your phone might take several minutes to turn up to display the home page. Now, enter your Google Account details, and setup it.
That’s it! You’re done with all the work. Now, your Note 8 should work fine like it was new. So that ends our post here, and that is how one can downgrade to stock firmware anytime on the Samsung Galaxy Note 8.
We hope that our readers would like this tutorial. Stay connected with us for more useful stuff.


![How to speed up Huawei P30 Pro New Edition [Tricks To Improve Performance]](https://androidcure.com/wp-content/uploads/2021/01/Speed-up-Huawei-P30-Pro-New-Edition-390x220.jpg)