
Did you do something to your smart phone, and end up having bricked it? Yeah, take a cool breath. It happens that we eventually harm our device by doing something abnormal thing to it. In current days, you might encounter such issues while having hands on the custom ROMs, recovery, and mods. If you’re suffering the same, this tutorial should help you. In this tutorial, we will help you to repair or unbrick the Samsung Galaxy J7 Pro using the stock firmware. This way, you can tackle many issues like bricked one, performance issues, or revert from custom ROM to native one.
With the help of stock firmware, we are can over many issues. It helps to revert everything to the stock version. Though, custom ROMs are even better, but sometimes misfortune may lead to brick the smart phone. The Samsung Galaxy J7 Pro comes with a pretty handsome specification, and looks. Launched in June’17, in the small time, this smart phone has become very popular.
The price tag, and solid specification make it an ideal smart phone for Android users. If you’ve bricked your Samsung Galaxy J7 Pro, this dedicated tutorial will help you to get over this problem. You just need to keep track of the steps we mention here, and follow them as exactly as they are.
If you’re already on a custom ROM, and would prefer to go back to stock Rom then you can follow this guide. This guide simply helps to put the stock firmware on Samsung Galaxy J7 Pro using a flashing tool, Odin. The stock firmware is very helpful.
Whether you’re facing some serious issues, or some small issues (like performance related, or stability), flashing a custom ROM will help you with that. Most importantly, you can revert to its native operating system with that.
Noteworthy, if you’re coming from a custom Rom, then you must know something. It will wipe out the complete memory of the device that includes custom recovery, mods, and downloaded files. Therefore, before you make any step further, we recommend to back up all that stuff stored within the device, and important to you.
Also see:
Once it is performance, the same cannot be undone. There are some prerequisites that you must know, and prepare the phone accordingly.
Prerequisites
- This tutorial, and files that we mention here are supposed to work with Samsung Galaxy J7 Pro only, and shouldn’t be used, or try on any other smartphone.
- Before you proceed further, you must check the model number of the device. Therefore, to check the model number, go to Settings ->About Phone->Model number. It should be Samsung Galaxy J7 Pro.
- In informed in the above paragraphs, the process will wipe out the entire memory of the phone. That means, it is better to back up things that’s important to you. Follow our guides: How to Backup Apps and Games with Data and How to backup Android phone.
- To proceed with process, you need a Windows based PC/Laptop, and a USB cable for connectivity purpose.
- Charge your phone to good level. Charge it at least 50%, so it won’t get turned off in the midst of the flashing process. That might get things even worse.
Also see:
That is what you need to keep in mind, and make preparations. Now, here’s the download section to get required files, and a tool.
Downloads
- The very first step is download the stock firmware of Samsung Galaxy J7 Pro from here. Over that webpage, enter the device model number in the search area, and then download the file. Once you download the file, extract it to get .md5 file, we need this file.
- Download the Odin Flashing tool from →here. Extract the .Zip file to your Windows Laptop/Desktop. Under the extracted folder, look for Odin3 v3.12.7.exe. We will use this flashing tool to flash the stock firmware on Samsung Galaxy J7 Pro.
- Another important download is USB drivers. Download the Samsung USB Drivers from here. Install them on your PC/Laptop.
Note: If you’re using Skies, or relevant tool, then downloading USB drivers is optional for you. Now, let’s get to the main section. Where we perform the steps for flashing the firmware.
How to flash stock firmware on Samsung Galaxy J7 Pro to repair / unbrick it
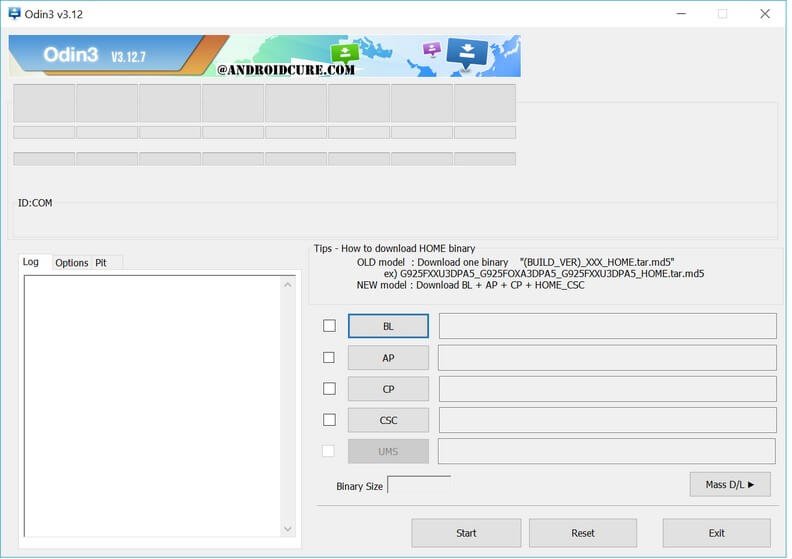
Step 1: Hope you’ve downloaded all the files we mention above. From the exacted Odin too, look for Odin3 v3.12.7.exe and tap twice over it to Run it.
The tool should open, and it looks like below:
Step 2: Now, put your phone. Press, and hold the power button till further options appear. Choose Power Off, and let it happen completely.
Step 3: Once it is turned off, boot into download mode → Press and hold ‘Volume Down, Home and Power buttons’ at the same time and release them when you see the Android Logo with a warning! Now, press Volume down to get into Download Mode.
Step 4: Now, use a USB cable to connect to your PC/Laptop. There Odin tool will reflect once the device is connected successfully The ID: Com section should reflect the blue color just like the below image:
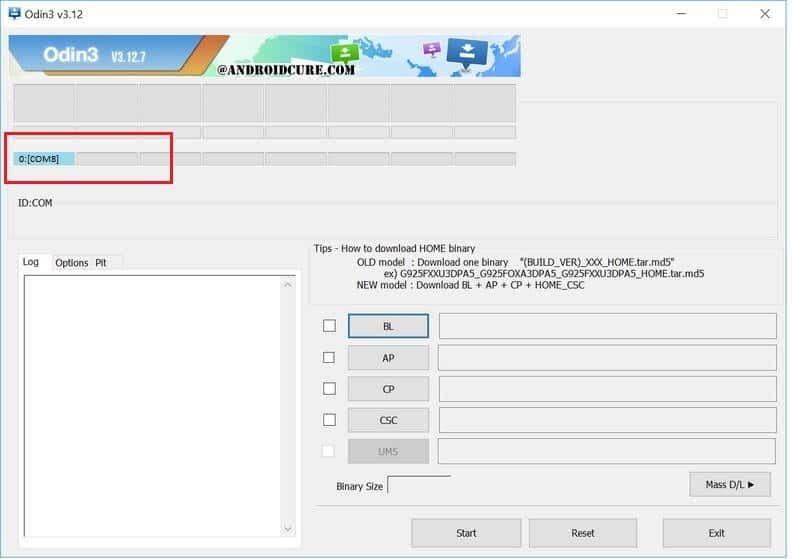
Note: If does not happen in your case, make sure that you’ve installed USB Drivers, and restart the PC/Laptop. Then, try it again. It will work!
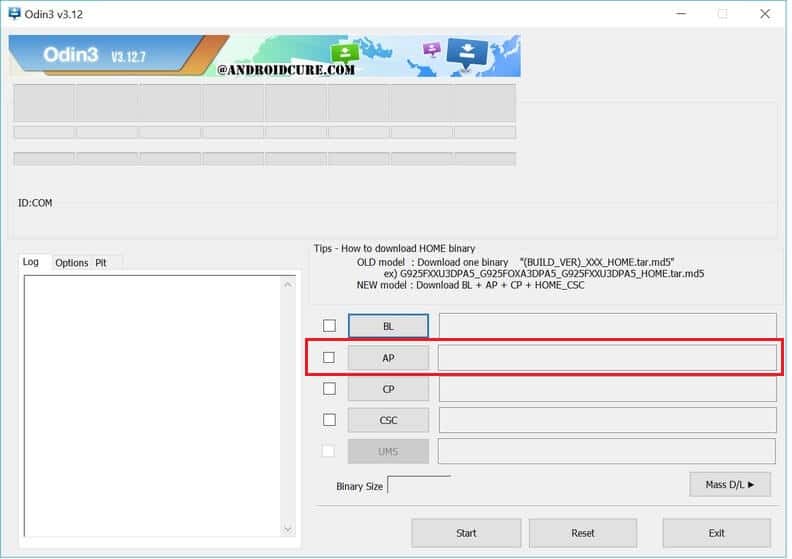
Step 5: Now, tap on ‘AP’option on Odin program, and upload the extracted .md5 file just like below:
Step 6: Don’t make any further changes. Hit the Start Button to begin the flashing process, and let it happen. It can take anywhere between 3 -10 minutes to complete.
Step 7: As it gets finished, a PASS! A message will appear over the Odin. Now, you can take off the phone.
The phone will start itself, and it can take some time to boot up for the very first time. It is completely normal. You’ve successfully managed to unbrick your Samsung Galaxy J7 Pro with Stock Firmware. In case you see yourself stuck, feel free to comment, and we will surely help you.
That ends our tutorial here on how we can repair Samsung Galaxy J7 Pro by flashing the stock firmware. Don’t forget to share, comment, and subscribe us.


hello, i got a problem with my samsung j7 pro, it says network not registered.. it was fine 1 plus year, i tried both sim cards tray it still says network not refistered, theres no problem with the sim card cause i tried it on other phone, so is this also a possible solution for my problem too? btw where do i get the md5 tar file from? thank you